Headlines allow you to customize text further with image fill, stroke, shadows, etc.
Icon Descriptions.
Add – Adds a headline box to your page.
Font – Loads a drop down menu of available fonts.
Size – Set the desired size of selected headline from the drop down menu.
Spacing – Adjust the space between lines. (1 – 3)
Tracking – Adjust the space between individual letters.
Style – Select B (Bold) or I (Italicize) to apply the style.
Opacity – Drag the slider left or right to increase or
reduce the transparency.
Rotation – Drag the slider left or right to apply a
rotation.
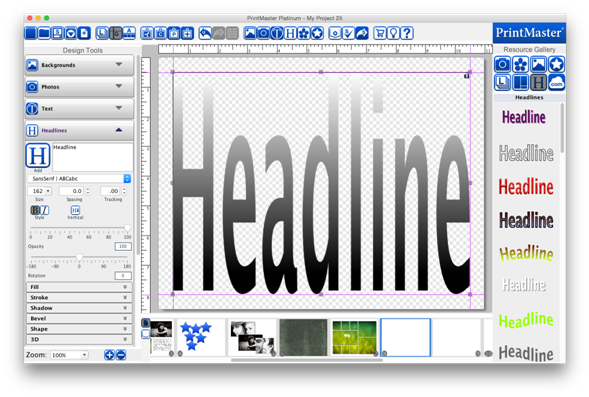
1. To add a
headline to a page open the Headlines tab and click on the Add icon.
2. A headline box
will appear in the middle of the page.
3. Type your headline,
the headline box will update with what is typed.
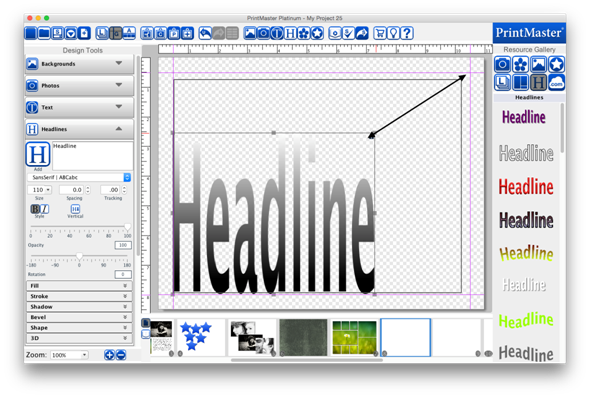
4. Drag from the
center of the box to adjust the position.
5. Drag from the
handles (small grey boxes) to adjust the size of the box.
·
Please note that the text will stretch to fit the headline
box and will adjust the font size.
·
To enter edit mode (allows typing) double-click on the
headline box.
·
You may size and position headlines on the page while in
edit mode.
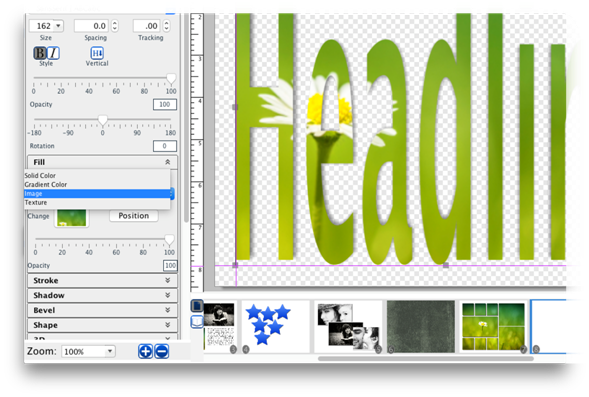
Fill the characters in a headline: Color, Gradient, Image,
and Texture.
·
Toggle the Enable check box to apply or clear the fill.
·
Select an option from the Fill Type drop-down.
·
Drag the Fill Opacity slider to increase or decrease the
transparency of the fill.
Related Topics
Using PrintMaster
Stroke Tab
Shadow Tab
Bevel Tab
Shape Tab
3D Tab