
·
Select a photo and click on the shadow icon to display the
shadow dialog.
·
Use the Opacity slider to affect how dark or light the
shadow is.
·
Use the Blur slider to increase or decrease the sharpness of
the shadow’s edge.
·
Click Change to choose the shadow’s color.
·
Use the arrow keys to adjust the shadow position, or drag
the shadow in the preview.
·
Toggle the check boxes to apply the shadow settings to all
images.
·
Reset to Default will clear the current settings.
·
Save as Default will save the current settings as the
default.
·
Click OK to apply the shadow to the selected photo.
Crop – Allows you to display a desired section of a photo.
1.
With a photo selected, click on the Crop icon.
2.
If the photo is already cropped, it will show the current
crop area.
3.
If the photo does not have a currently defined crop area, position
your cursor in the preview area, then left-click and drag a selection box to
define the crop area.
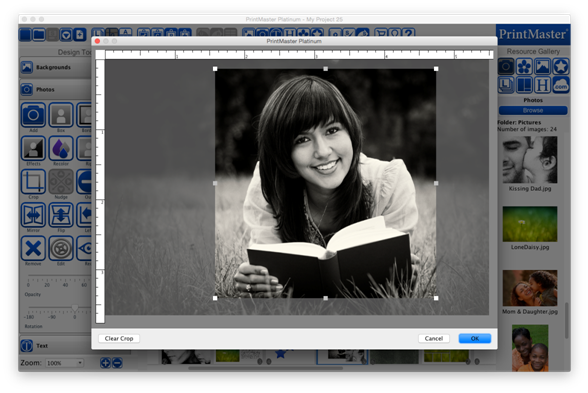
4.
Drag from the small grey box handles to adjust the size of
the crop area.
5.
To start over, or to display the entire photo, click the Clear
Crop button.
6.
When you are satisfied with your crop area selection, click
on the OK button.
·
The grayed areas of the photo will not be shown on the page.
Related Topics