Save your project as JPG, PNG, or PDF images for viewing and sharing.
1. Go to the Share menu > Export.
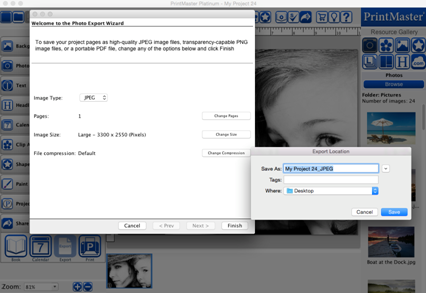
2. Select the Image Type, Pages, Size, and Compression then click Finish.
3. Select the desired Export location (Example: Desktop) and click Save.
4. A folder will be generated in the set export location with the image files inside.
Image Type – Select the type of image format you wish to create.
· JPG – Is a common image format compatible with all systems.
· PNG – Will maintain no background transparencies, like a clip art frame.
· PDF – Allows you to save all pages into a single document for easier viewing.
Pages – Select which pages are included with export.
· Pages with the check box in the upper left are selected for export.
· The Select All button will mark all pages for export.
· The Clear All button will clear all pages from export.
Image
Size - Select a size for your exported files.
· Larger sizes will give a better quality for printing.
· Smaller sizes use less space and are easier to share or send in emails.
File Compression – Select the quality of the exported files.
· 100% creates a better quality image for printing.
· Lower % creates a smaller file size but reduces image quality. (Note: PNG files are not affected by compression settings)
Related Topics