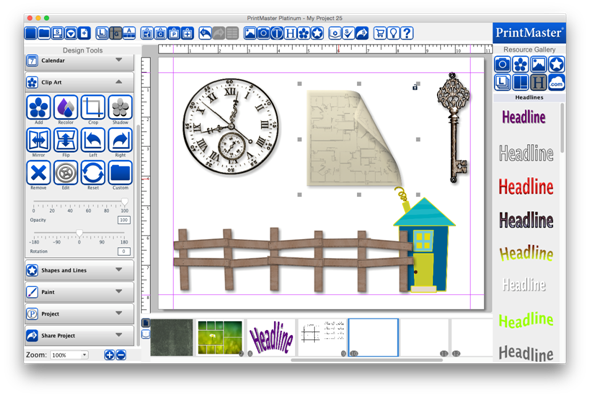
Clip
art is a collection of graphic objects that is used for decoration on a page.
Icon
Descriptions:
Add
– Add a selected Clip Art to your page.
Recolor
– Recolor the selected Clip Art.
Crop
– Crop unwanted portions of a Clip Art image.
Shadow
– Add a shadow to the selected photo.
Mirror
– Flip the image horizontally on the page.
Flip
– Flip the image vertically on the page.
Left
– Rotate the image left 90 degrees.
Right
– Rotate the image right 90 degrees.
Remove
– Deletes the image from the page.
Edit
– Displays Clip Art info and allows you to adjust the image size and position.
Reset
– Sets the Clip Art back to the default state.
Custom
– Select an image file from your computer to use as Clip Art.
Opacity
– Drag the slider left or right to increase or reduce the image transparency.
Rotation
– Drag the slider left or right to apply a rotation.
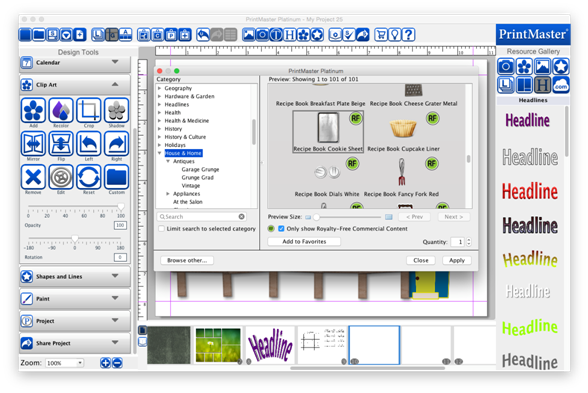
1.
Open the Clip Art tab and click on the Add icon.
2.
Select a category name in the left column (click on the plus
expand categories).
3.
Select an item in the preview area, and click Apply to add
it to the page.
4.
Close the window when you are done adding images.
·
Drag the preview slider to increase or reduce the size of
the previews.
·
Click on the up or down arrows next to Quantity to add more of
the selected image.
·
Click on the Add to Favorites button to save the selected clip
art to Favorites.
·
The Search field allows you to find clip art by keyword or
name.
·
Toggle Search selected category only box to limit the search
to the current category.
·
Select Browse other to add one of your own clip art images.
·
To view Royalty-Free content click the only show
Royalty-Free content box.
Related Topics
Using PrintMaster
Cropping Clip Art Images